Managing Your Library
Organize lectures into folders, understand status indicators, and keep your library tidy as it grows.
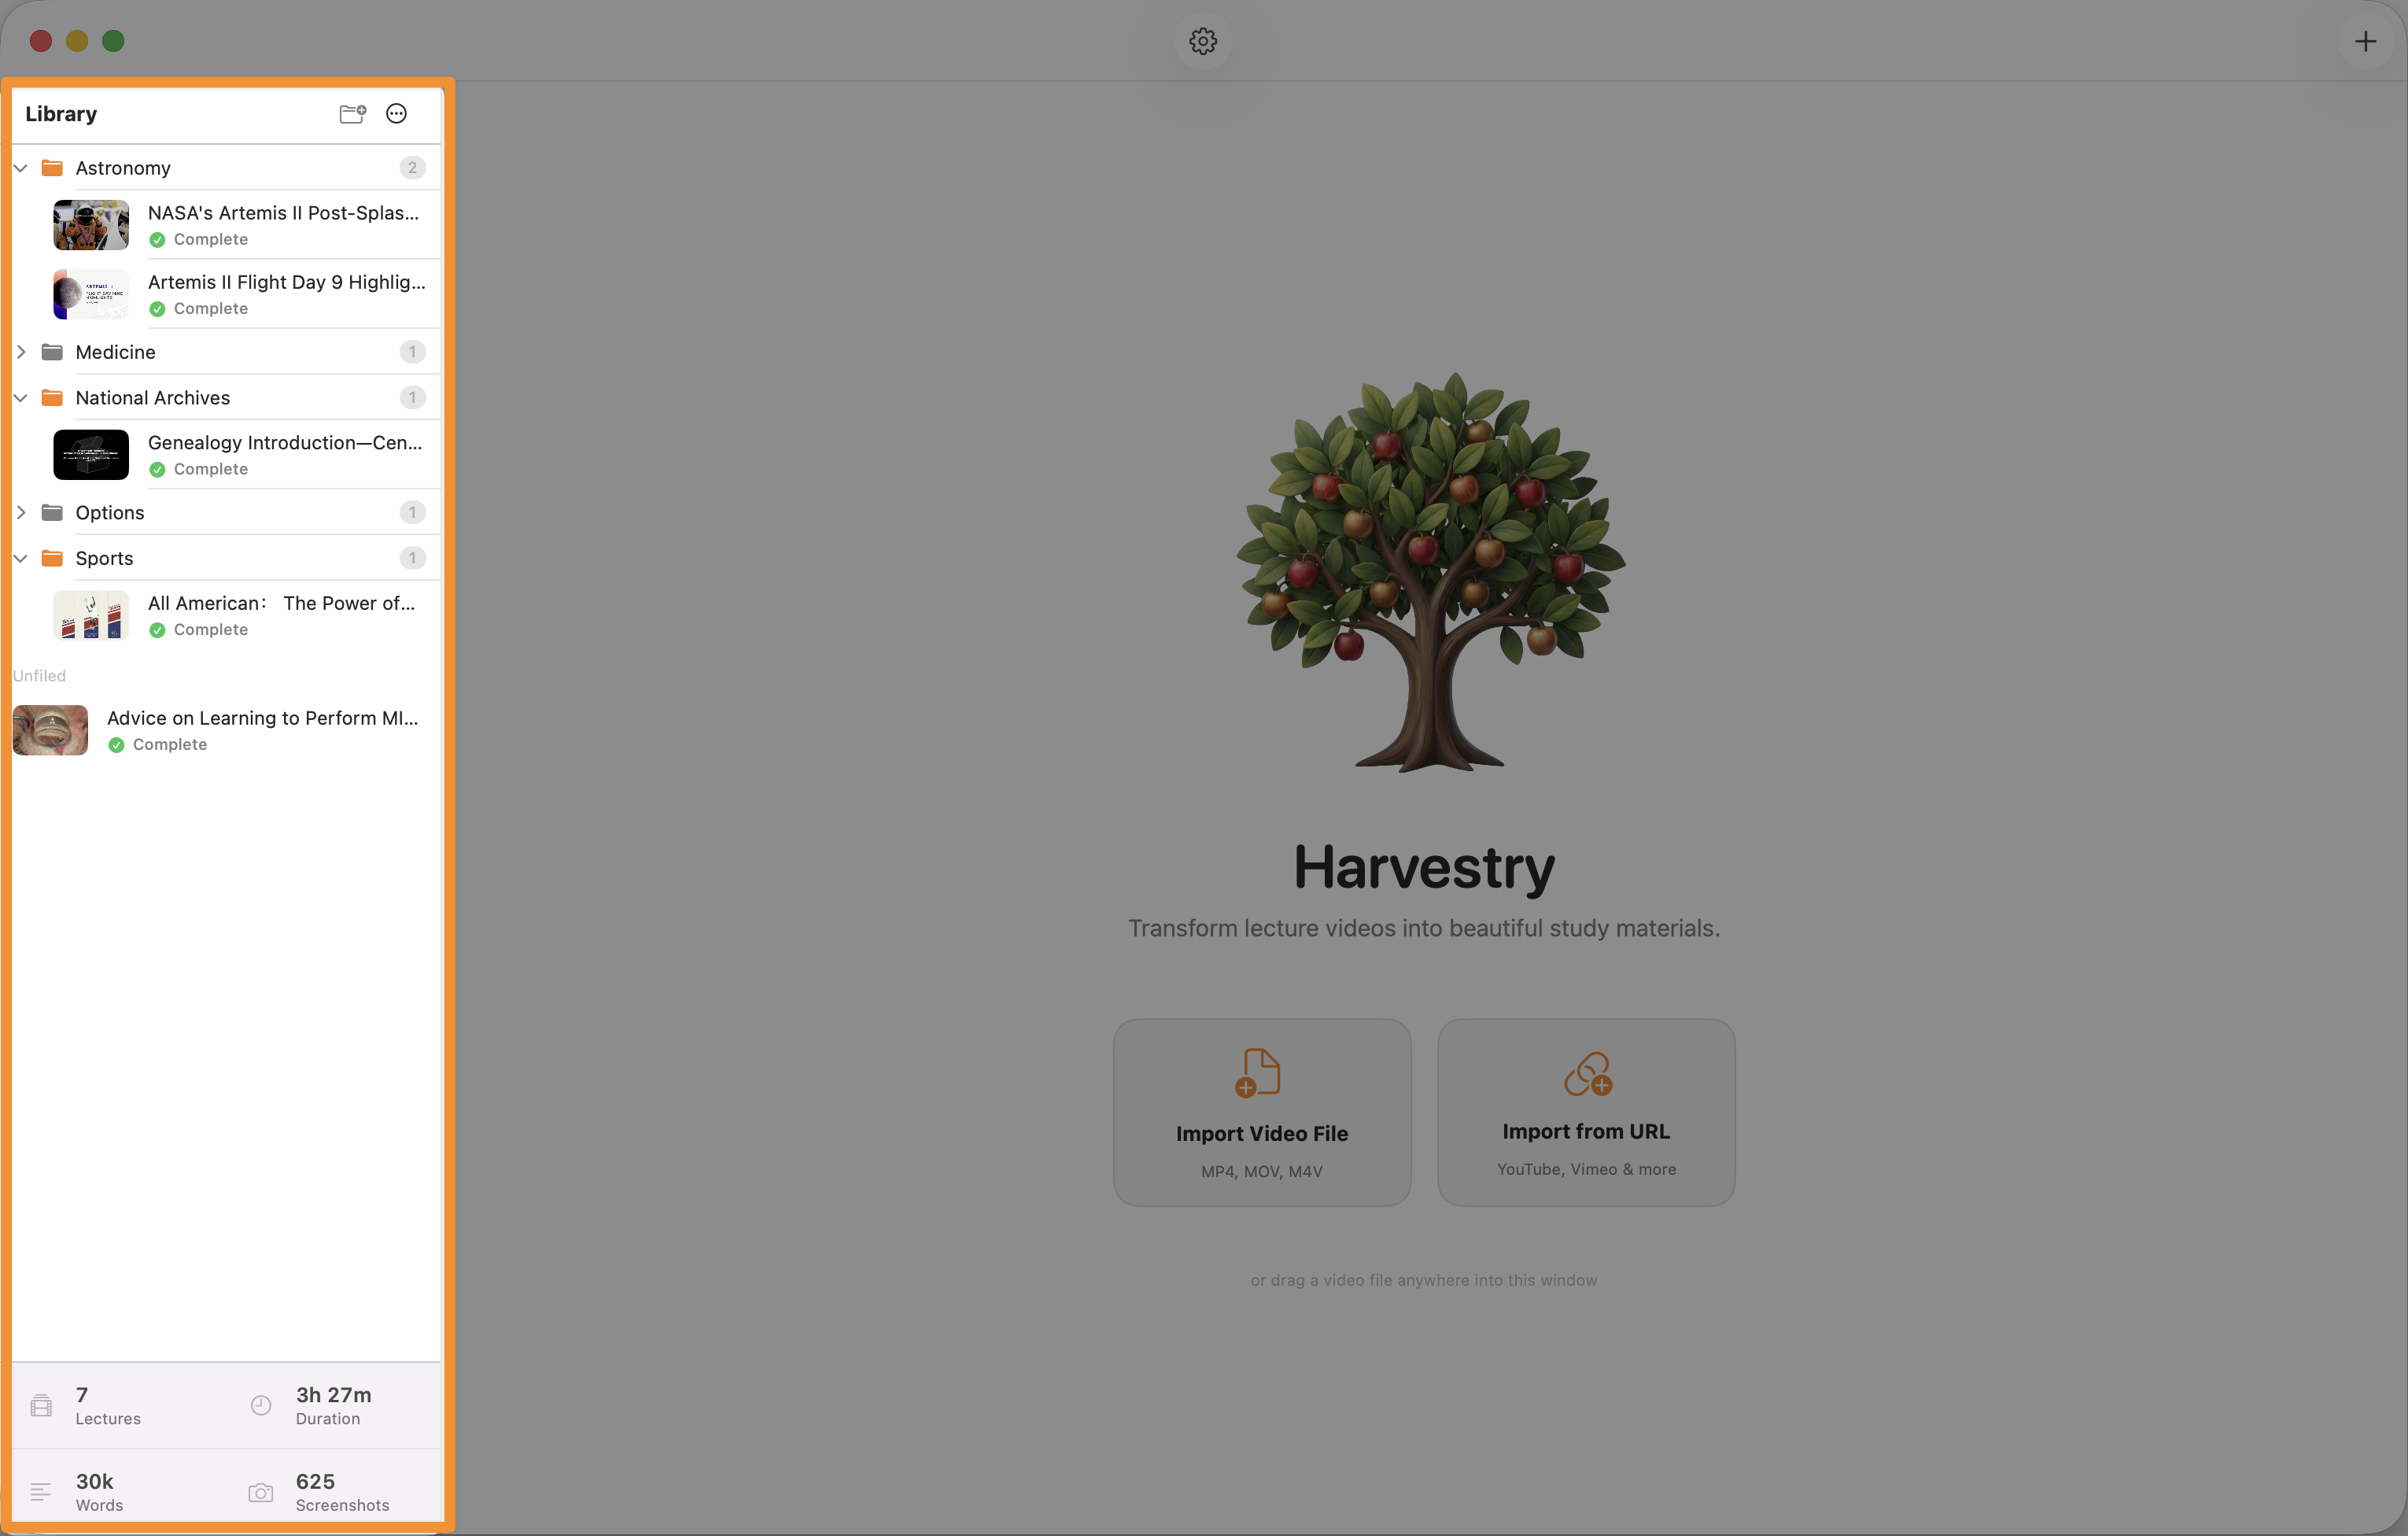
The Library Sidebar
The left panel of the Harvestry window is the library sidebar. It lists all lectures, grouped by folder if you've created any. The sidebar is the primary navigation surface — clicking a lecture selects it and shows its detail view on the right.
Lectures are listed in reverse-chronological import order by default. Drag-and-drop within the sidebar reorders lectures. Dragging a lecture onto a folder moves it into that folder.
Lecture Status Icons
Each lecture row in the sidebar shows a small status indicator dot next to the title:
| Status | Icon | Meaning |
|---|---|---|
| Ready | Gray dot ⬤ | Imported but not yet processed. Click Begin Processing to start. |
| Transcribing | Amber pulsing dot | WhisperKit is actively transcribing the audio. |
| Capturing | Amber pulsing dot | Screenshot scan and capture phase is running (alongside transcription). |
| Consolidating | Amber pulsing dot | LLM consolidation is in progress (Claude or Ollama). |
| Exporting | Amber pulsing dot | HTML is being generated and written to disk. |
| Complete | Green dot ⬤ | All pipeline steps finished successfully. Export is ready. |
| Failed | Red dot ⬤ | One or more steps failed. Select the lecture to see the error in the log. |
| Missing | Warning triangle ▲ | The source video file cannot be found at its stored path. The file may have been moved, renamed, or deleted. |
Creating Folders
Group related lectures into folders to keep your library organized by course, topic, or date.
- Click the New Folder (📁+) button in the sidebar header.
- Type a name for the folder and press Return.
- The folder appears in the sidebar. Drag lectures onto it to move them in.
Folders can be collapsed or expanded by clicking the disclosure triangle to the left of the folder name. The collapse state is persisted between app launches.
Moving Lectures to Folders
Two ways to move a lecture:
- Drag and drop — Drag the lecture row in the sidebar onto a folder name. The folder highlights when the drop target is active.
- Right-click menu — Right-click the lecture → Move to Folder → select the destination from the submenu.
To move a lecture out of a folder back to the top level, right-click → Move to Folder → None (top level).
Renaming and Deleting Folders
Right-click any folder name for these options:
- Rename — The folder name becomes editable in-place. Press Return to confirm or Escape to cancel.
- Delete — A confirmation dialog appears with two choices: Delete folder only (keep lectures) or Delete folder and all lectures inside. The first option moves all lectures in the folder to the top level; the second deletes both the folder and all lectures inside it from the library.
Deleting Lectures
To delete a single lecture, right-click it in the sidebar → Delete Lecture. A confirmation dialog appears — confirm to remove the lecture from the library database.
Bulk delete options are available from the sidebar header menu (⋯ button):
- Delete all lectures — Removes every lecture from the library.
- Delete unprocessed lectures — Removes only lectures in the Ready state (never processed).
Library Stats Bar
The bottom of the sidebar shows a row of aggregate statistics for your entire library:
- Lecture count — Total number of lectures.
- Total duration — Sum of all lecture durations (H:MM:SS).
- Total word count — Sum of all transcript word counts (processed lectures only).
- Screenshot count — Total screenshots across all lectures.
What "Missing" Status Means
A lecture shows Missing status when Harvestry cannot find the video file at the path stored in its database. This happens when:
- You moved or renamed the video file after importing it.
- You deleted the video file from disk.
- An external drive containing the video was disconnected.
A Missing lecture still has its transcript, screenshots, and export intact — only the video file is gone. The in-app player will not work, but the transcript panel and exported HTML remain fully functional.
For lectures imported via URL: if the lecture is Missing, the detail view shows a Redownload button. This re-downloads the video from the original URL and restores full functionality.
For file-imported lectures: re-import the file at its new location using File → Import Video, then delete the duplicate Missing entry.